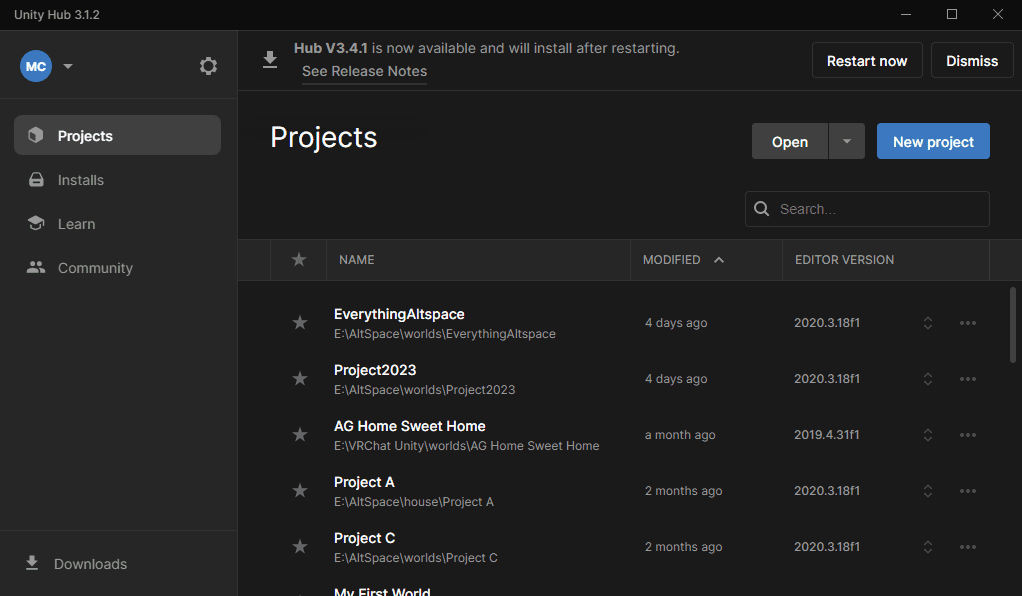
Unity Hub is a tool that helps you manage and organize your Unity projects and installations. It allows you to easily install and manage different versions of Unity, as well as access and organize your Unity projects. Here is a guide on how to install Unity Hub and start using it for your Unity3D projects:
Step 1: Download Unity Hub
- Go to the Unity website (https://unity.com/)
- Click on the “Get Started” button
- Under the “Personal” tab, click on the “Download Unity Hub” button
- Once the download is complete, run the installer and follow the prompts to install Unity Hub on your computer.
Step 2: Sign in to Unity Hub
- Once Unity Hub is installed, open it
- Click on the “Sign In” button in the top right corner
- Enter your Unity ID and password, or create a new Unity ID if you don’t have one
- Once you’re signed in, you will see the Unity Hub dashboard.
Step 3: Install Unity Editor
- On the Unity Hub dashboard, click on the “Installs” button
- Click on the “+” button to add a new version of Unity
- Select the version of Unity you want to install and click on the “Download and Install” button
- Once the installation is complete, the Unity Editor will be added to the “Installs” list in Unity Hub
Step 4: Create a new project
- On the Unity Hub dashboard, click on the “Projects” button
- Click on the “+” button to create a new project
- Give your project a name and select the version of Unity you want to use
- Click on the “Create” button and Unity will open the new project in the Unity Editor
Step 5: Accessing existing projects
- On the Unity Hub dashboard, click on the “Projects” button
- Locate the project you want to open and click on it
- Unity Hub will open the Unity Editor and load the selected project
By using Unity Hub, you will be able to easily manage and organize your Unity3D projects, switch between different versions of Unity, and access your projects with just a few clicks. This can save you a lot of time and effort when working on your projects, and make your development process more efficient.


